carlasconfections test: 2012

Wednesday, 12 December 2012

Free Downloadable - Christmas Goodies

In the spirit of Christmas - I thought you may enjoy these! You can find the download links below. There are 4 types of Christmas cards for you to print out onto A4 Card and I have added cut and fold marks to make it easier for you (because I know there is SO much to do this holiday season!)

The tags can be either cut by hand or with a 2" round or fluted punch!

Thank you for visiting Bits of Sunshine! Hope to see you soon!

Christmas Tags
Christmas Cards - Landscape
Christmas Cards - Portrait

If you are looking for a really sweet homemade gift, why don't you make some of these tasty bakes and wrap them up for someone special...


Custard Creams
Delish and oh-so easy to make


Caramel Sauce
Not as hard as you think! Pop it into a cute jar and it will be swooned over!


Rolo Chip Cookies
Extremely Decadent!


Biscotti hot chocolate stick with marshmallows - From Top With Cinnamon
What a great idea!!!!


Chocolate chip oreo cream cookies - From Hearts in My Oven
I think these are the coolest cookies ever!


Monday, 10 December 2012

Rolo Chip Christmas Cookies

I love Christmas time. It is full of everything I hold close to my heart! The Lord Jesus, my family and friends, giving, and lots of Christmas treats! Its round about this time of year that all the baking bloggers are hard work, measuring, baking, photographing, editing and blogging - all in the name of Christmas Cheer - and I love it! Take a deeeeeep breath - can't you just smell all the goodies in the air! Ah! To make it all the more sweeter, Kristan from Confessions of a Cookbook Queen and Shelly from Cookies and Cups are hosting a fabulous Holiday Recipe giveaway! I mean, isn't that the very best excuse to get your holiday baking on! So, I am entering these Rolo Chip Cookies in the Creative Holiday Recipe Contest hosted by Confessions of a Cookbook Queen and Cookies and Cups!


They were inspired by my addiction to rolos - and they are probably the best cookies I have made to date (not that I am blowing my own trumpet or anything TOOT TOOT!) And they were pretty easy to make!


They started off like this. Anything that starts off like this has to be good!


Then, after a couple of ingredients like butter and sugar and flour and eggs and ROLOS, it looks like this!

Need a closer look?...


There you go! Feeling the holiday vibe yet?


How about now?


Or now?

Ok, ok, I will stop that now! After you have dropped spoonfuls of cookie dough onto a baking mat or VERY well greased baking tray (the rolos are quite sticky when baked), they will take 8-10 minutes until they are golden brown and you can munch on them while you pop the next batch into the oven.

A Silpat is one of the best baking "things" I have invested in. They are pricey, but I have found that even the stickiest stuff just slides off them. If you don't have one yet - and you have been good this year - I suggest you add it to your Christmas Wish List! And perhaps, if you make Santa some of these Rolo Chip Cookies, he may just surprise you with a Silpat :)


 If, by any chance, you have any cookies left after baking these moist, chewy, chocolatey cookies, I think they would make a really sweet gift for any cookie / chocolate lover! I know a couple people who would LOVE these, my only problem is that this whole batch seemed to have vanished already! I guess I will be making more soon to the tunes of Micheal Buble Christmas! Yey!


 So - are you planning on giving baked gifts this festive season? If so - what? Feel free to leave a link to your Christmas baking in the comments so I can check it out!


And if all of that didn't rev up your Christmas Cheer - I am sure this sweet little dog will!


Here is the recipe [Printable]

Rolo Chip Cookies


2 1/4 cup all purpose flour      200g / 2 cups chocolate chips
1 cup brown sugar                   2 packets mini rolos (or large ones)
3/4 cup white sugar                 1 teaspoon  baking powder
250g softened butter                1 teaspoon vanilla extract
2 eggs                                      1 teaspoon salt

  •     Preheat oven to 190 degrees celsius.
  •     In a small bowl combine flour, baking powder and salt.
  •     In a large bowl combine butter, brown and white sugar and vanilla extract and mix well.
  •     Add eggs and mix well.
  •     Gradually add flour mix and mix well
  •     Stir in chocolate chips and rolos
  •     Drop spoonfuls onto a VERY well greased cookie sheet - the rolos are quite sticky once     baked
  •     Bake for 8-10 minutes until golden brown. DON'T over bake - or they will lose their chewy-ness
  •     Let them cool for a few minutes before removing from the baking sheet. Once completely cooled, wrap them up and give them away as a sweet gift to someone special :)
www.bitsofsunshine.com  (c) Heidi Hawyes 2012

Sunday, 9 December 2012

Candy Land Birthday Cake - with free printables!

I made this Candy Land cake a while ago for my special friend Megan.

She had a 21st Birthday Party that I am sure will NEVER be forgotten by those who attended! It was AMAZING! There were bowls and buckets of sweets everywhere. It was just fantastic!

When Megs asked me to make her cake, I have got to admit, I was kind of nervous! I mean a 21st cake is kind of a big deal! But she convinced me to give it a try :) and I think we were both pleased with the results!


I made her using my this chocolate cake recipe (minus the oreos) and iced it with my fav vanilla buttercream icing (recipe below).

I also made some matching cupcakes using my chocolate mayo cupcakes recipe.


See those cute little cupcake toppers? I made some generic ones for you!  If you are planning on having a candy land party, just download them using the links below!


You can also use them for cake pop tags, just punch two holes in them, one on the top and one on the bottom.


Download the printables here:

Candy Land Cake Toppers
These can be cut out with a 2"fluted or round punch

Candy Land Big Cake Toppers

Candy Land Invites

Enjoy them! If you use them I would LOVE to see some pictures from your candy land party and be able to share them on my facebook page!


Fluffy Vanilla Frosting

250g softened butter
560g icing sugar
dash of vanilla essence
dash of cream


  • In an electric mixture, mix butter and icing sugar until smooth and fluffy, adding the cream bit by bit until a nice smooth piping consistency is reached.
  • Add the vanilla essence and mix a bit more
  • Ice your cooled cupcakes as you wish!

Wednesday, 5 December 2012

Red Velvet Cupcakes

There is just something so Christmassy about red velvet cake. The colour is sooooo holiday-inspired! I made these a while back and have only gotten around to sharinng them now :) - but they are worth the wait! And just in time so you can bake a batch to wow your guests for the holidays!


These are no ordinary red velvet cup cakes! Yes - I know that look that way from the outside, but you guys know me...I can't resist adding a little something to everything! SO these got the Rafaello treatment. Have you ever had a Raffaello chocolate? Ok - think Ferrero Rocher, but in white with coconut. Yip! They are totally divine! And red and white is just so merry!


I had a little helper for these, my sweet little niece Olivia. She helped me unwrap the Raffaellos and push them into the cupcake mixture.


See that t shirt she is wearing? Cool hey. Ok - I know you can't see the whole thing, but it is a really rad logo that belongs to a very good cause - The Sabrina Love Foundation. If you have a moment, go and check them out! They also have a REALLY cool range of clothing that they sell online! I just love their colours!

Anyhoo...


Livi did such a good job! Thanks Liv xxx


To make these I used a red velvet cake recipe (yes really!!!) from Bakerella and just baked them for about 18 minutes. I also added about 1/2 C of coconut to the one batch which was really awesome! I will really do that again!


I used I am Baker's best cream cheese frosting for these. It really is the best! So smooth and sweet. LOVE, LOVE, LOVE it!


What are you baking for the holiday season?

xxx

Thursday, 29 November 2012

Condensed Milk & Shortbread Cake Pops


A while ago Yuppie Chef held a Spring Cake Pop Challenge - and I was all in! I just happen to ADORE spring, and am madly in love with Cake Pops so this one was right up my alley! And to top it off - Bakerella herself had agreed to judge the entries (which Bakerella fan could resit that opportunity!) SO I decided to do mushroom and lady bug cake pops!

I love that cake pops are so versatile, you can pretty much go wild with them once you have gotten to know the basics of them! The consistency of the crumb-icing ratio is probably the MOST important thing to get right when making cake pops because if they are too soft, they fall off the stick, and if they are too hard they crumble when you try and insert the stick into them, but after making them once or twice you kinda get a feel for the perfect consistency and from there - the world of cake pops is your to conquer!

Since making these oreo and vanilla cake pops, I was super keen to try some shortbread and condensed milk ones. When we were growing up my mom used to make these fantastic no-bake marie and condensed milk cookies with us. They were killer sweet and so easy! I (weirdly) often find my self LONGING for these, so I based these cake pops on my hankering for those childhood treats!

Pretty simple:
It takes a 200g packet of bakers eet sum mores (or any shortbread, I bet homemade shortbread would be killer in this!!!! :) ) and about 140ml condensed milk - that's all!

And then you will obviously need some chocolate coating, sticks and all the rest :) But check out this post on where to get all of that!

SO this is how is goes:


In a processor, crush the shortbread until it resembles roughish crumbs


Then, add the condensed milk and mix, mix, mix until it is evenly distributed


Then roll, roll, roll


Phew! Time for a short break! Pop them into the freezer for about 15 min to chill. I guess its not really break time though, because its actually time to get your coating and decorations all together! Its best to have everything you need all within arms reach when you start your dipping, you need to work quite fast, so you cant be running around and counting out sprinkles!

SO for these you will need to grab some chocolate jimmies and some brown m&ms


Once these are all organised, you can start melting your chocolate. For these I bought some red candy melts.


And I melted them in a double boiler on the stove. You can do them in the microwave, but I find a double boiler is more reliable :)


Candy Melts really are wonderful! They are so thick and they are SO reliable! And their colours are so awesome! Ah - so glad for candy melts!

Ok - time for dipping! SO go and grab some sticks and your chilled cake balls out the freezer and let the dipping begin!


First dip your stick in the candy coating


and then push it into your shortbread ball (about 1/2 way)


then plunge it into the candy coating. Bakerella suggests using a deep bowl for this to avoid having to swirl the cake pop around the candy coating! WISE WORDS!


Once its all covered, shake off any excess candy coating


and pop them into a styrafoam block to dry. I am SO lucky to have a wonderful husband who made this cake pop stand for me. He just took a nice piece of wood and drilled some holes about the size of a cake pop stick in it. Its awesome! I just love it! Thanks Shane! xxx

Once the red candy coating is nice and dry, you can melt some dark chocolate (or black candy melts would be even better) and put it in a ziplock bag and cut a tiny piece off one corner to make a decorating pen (if you dont have a real one :) )


First stick the head on by placing a small drop of chocolate on a m&m and sticking on the front of a cake pop, then draw a line from the head to the back of the cake pop. Then you can add the dots!


I also added a little heart sprinkle as lips - cuz they are so cute you will want to kiss them!

and that's it!


I also turned some of these red domes into mushrooms


Same story - just using white chocolate instead of the dark chocolate!


And then pop them into some packets and tie them up with a cute ribbon - and that's it!Just like that! :)

SO the very cool thing about these is....they got me SECOND place in the contest! YIP! How rad is that?!?!?! I was super stoked! You can go and see the other winners here. I really liked Catherine's spring theme - I think she should have come first! Any hoo! I got a R500 voucher from it all and I bought a Mad Millie Cheese Kit with it, which arrived today! SO I am going to be making some cheese tonight! Boooya!

Thanks Yuppie Chef for the awesome opportunity! And the wonderful cheese kit!

If you had to make a spring themed cake pop - what would it be?


Wednesday, 21 November 2012

Cake Pops - for South Africans

This, my friends,is for my fellow South-African-bakers-who-would-like-to-scream-at-the-total-lack-of-baking-supplies-for-anything-in-South-Africa. Yes! Its true. It makes me mad, it makes me sad - well, it used to! Until I met Carla. I know, you hear about her ALL the time, but I am thankful for her ALL the time. She has really helped me in 2 BIG ways: the items I have SEARCHED for and cannot find here in South Africa, she sends me (thanks my sweet friend!) AND she answers ENDLESS questions about items that I have found to substitute for their American-counterparts. And because all of us South African bakers can't have a Carla (no, I won't share her :) ) I thought I would share a few tips and tricks for getting the stuff needed to make cake pops. So here it goes:


One sunny afternoon I had my sweet little nieces over to 'play' and in between watching Tinkerbell, we decided to make some cake pops. They were such great little helpers and we had so much fun!

PS - For the quantities, recipes and more gorgeous cake pops - go on over to Bakerella's blog, she is the cake pop queen! She also has an awesome new book out, which I am sure will hit the stores soon here, but in the mean time you can grab her first book here, here or here - its totally worth it! Be sure to watch her awesome video that she has made to show just how easy it is to make these scrumptious creations!

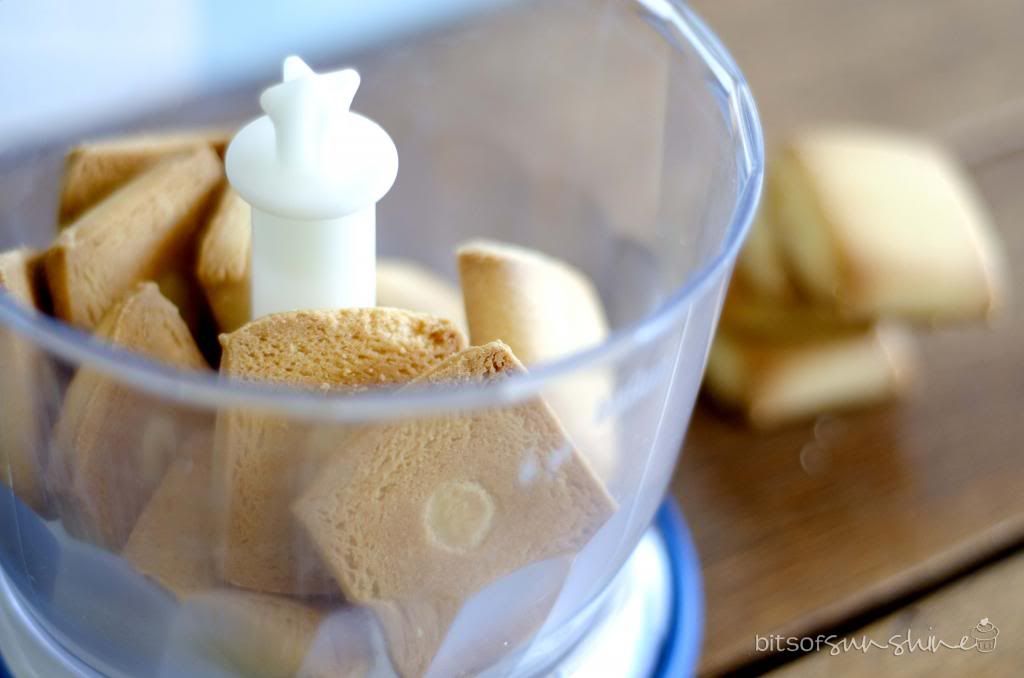
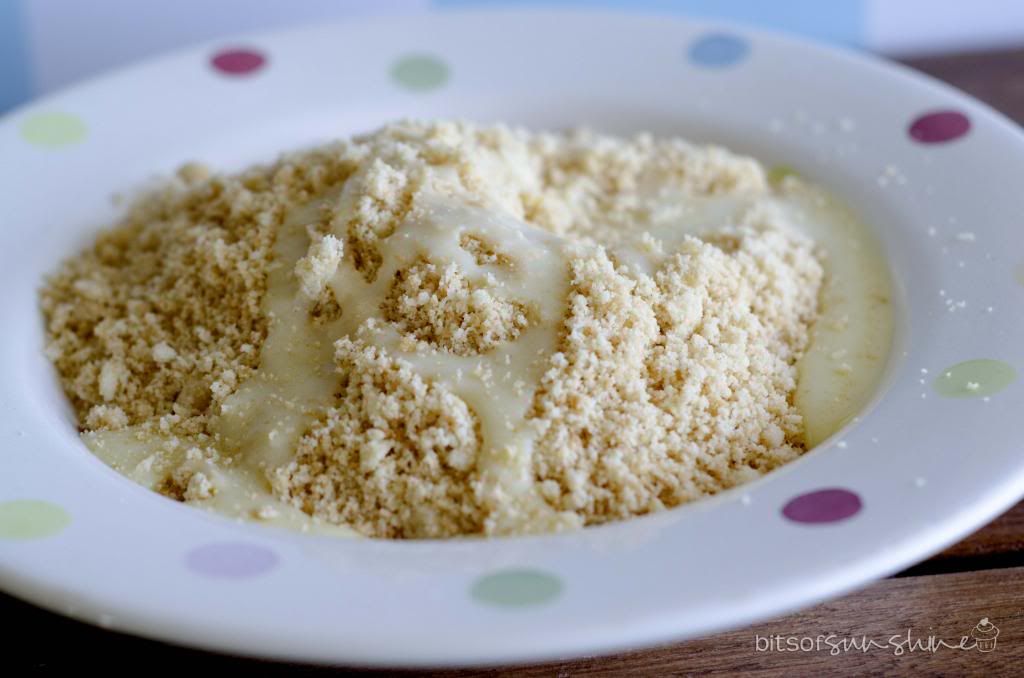
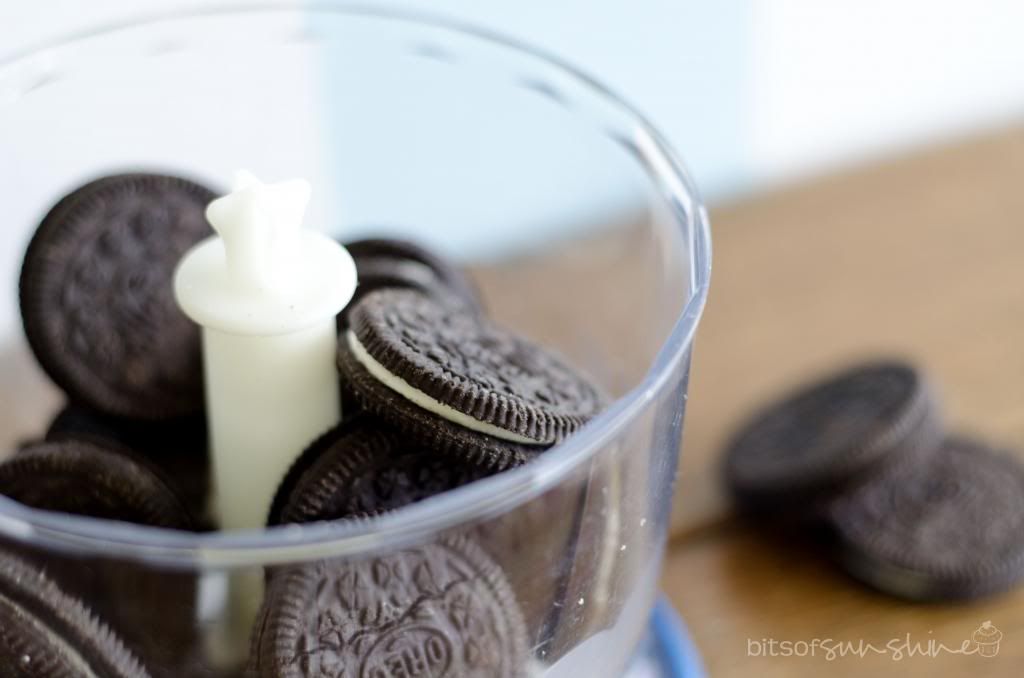
It all started with some Oreos and a food processor...


 and some vanilla butter cream


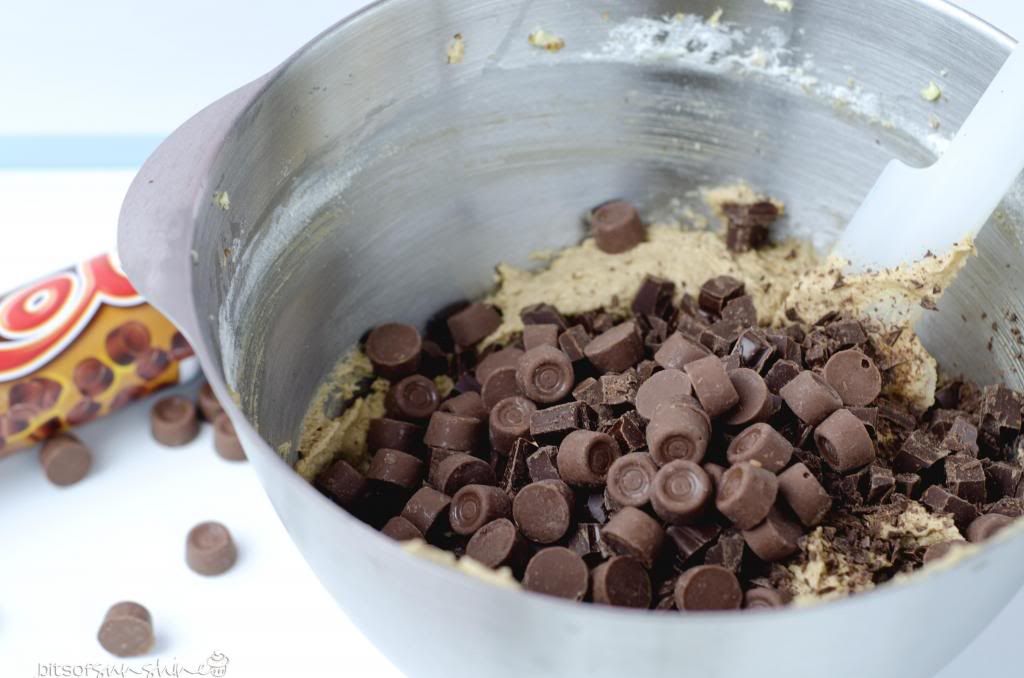
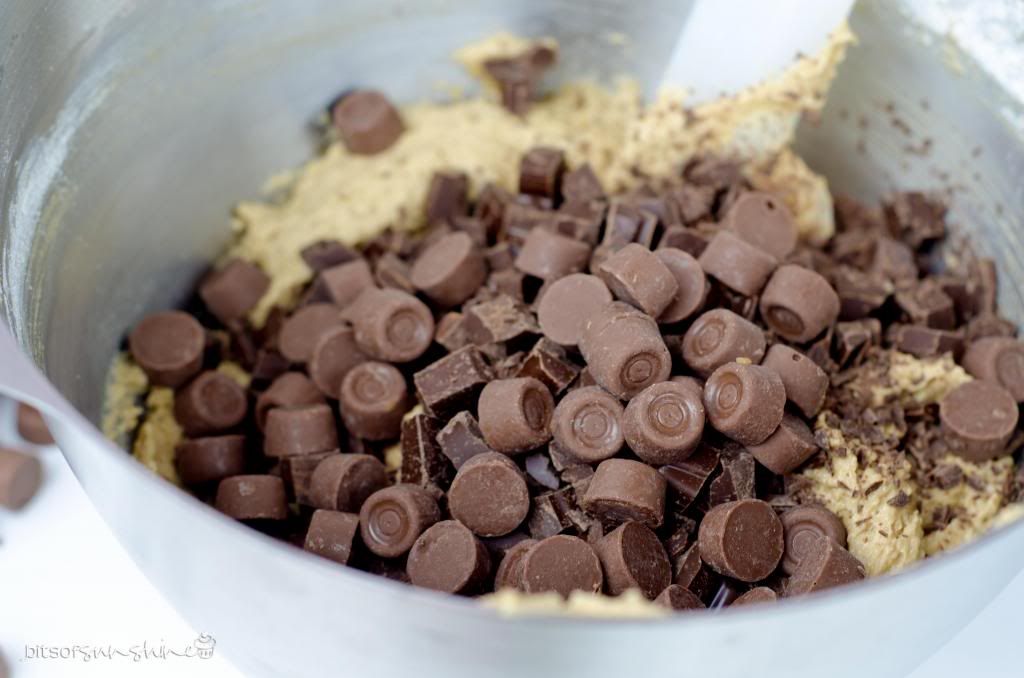
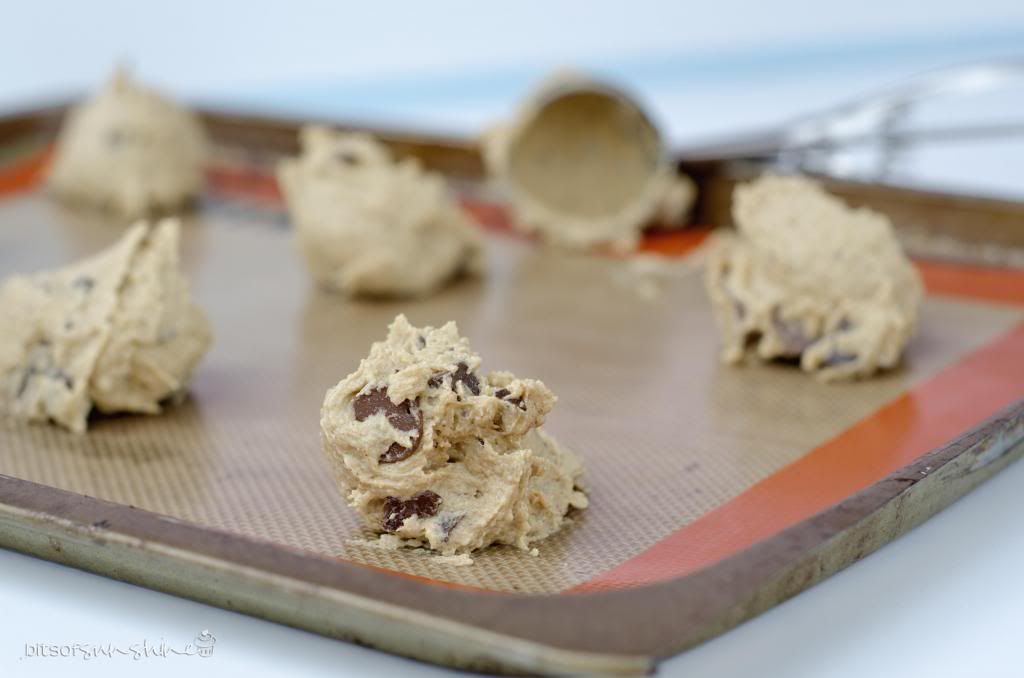
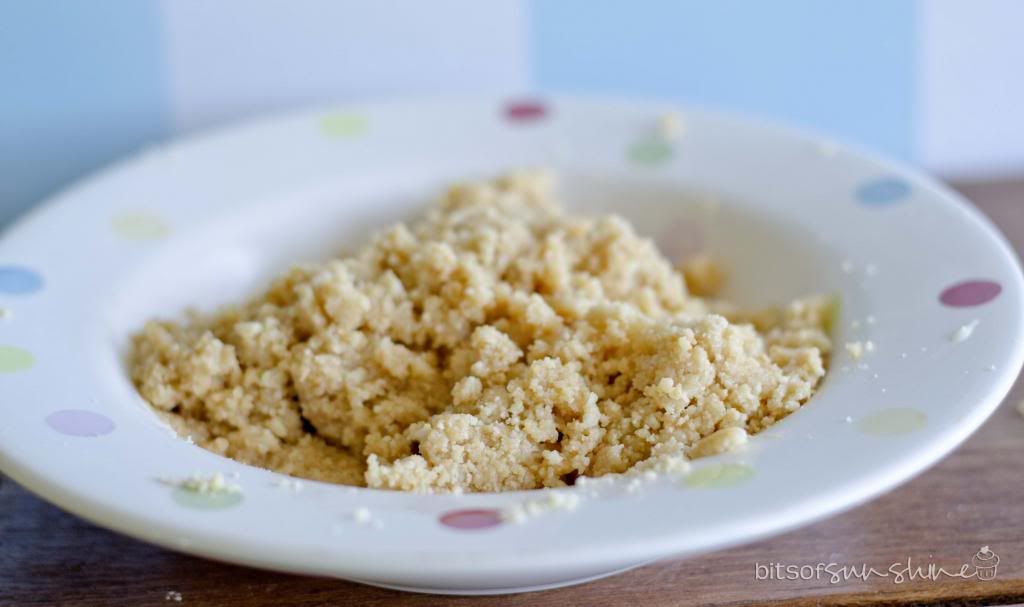
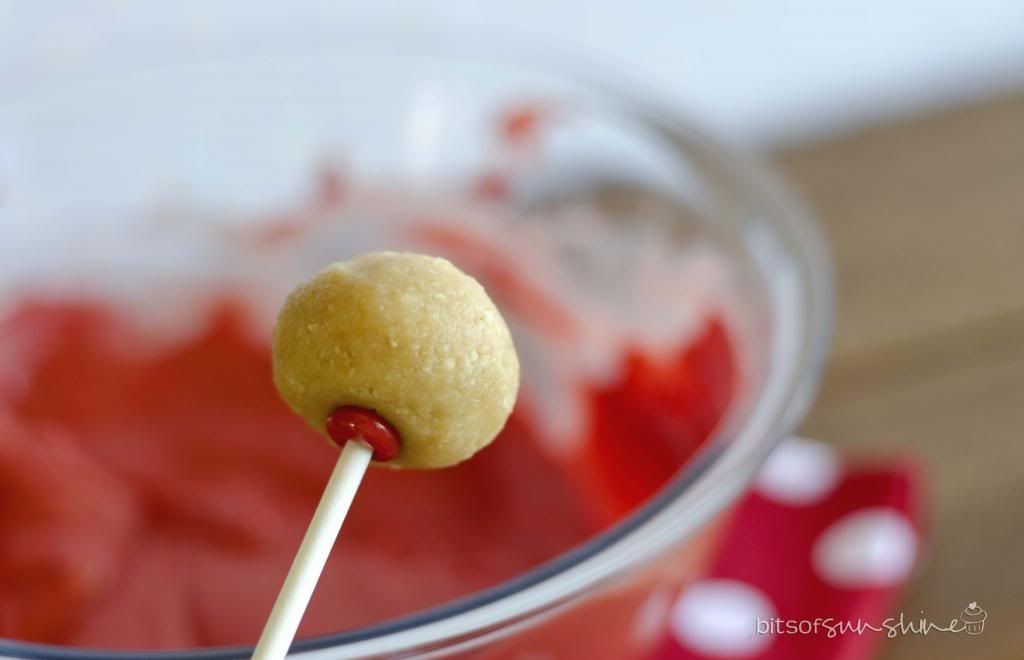
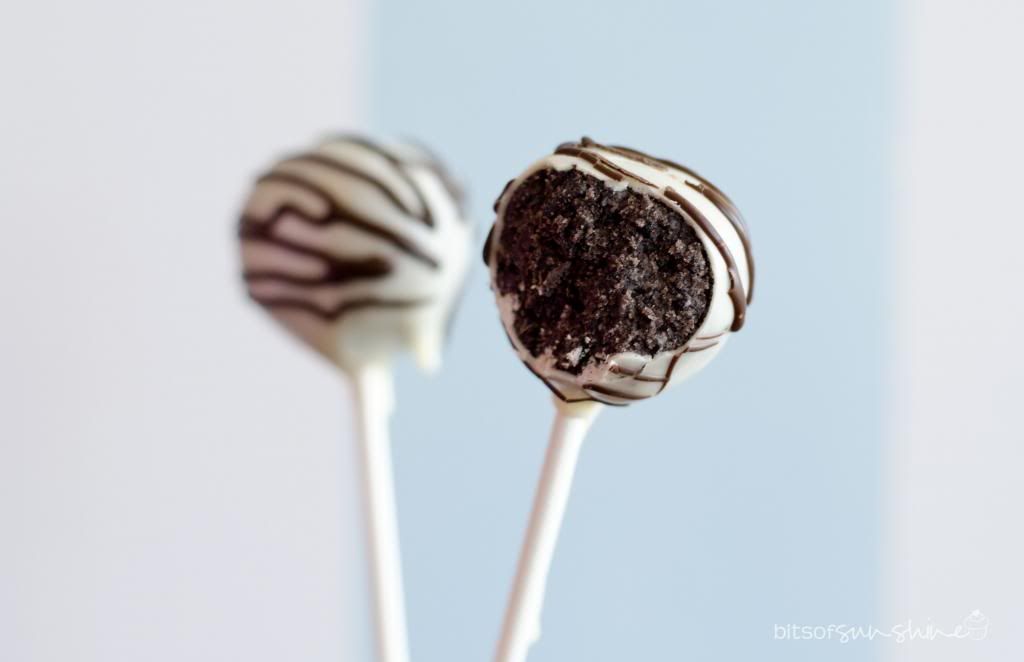
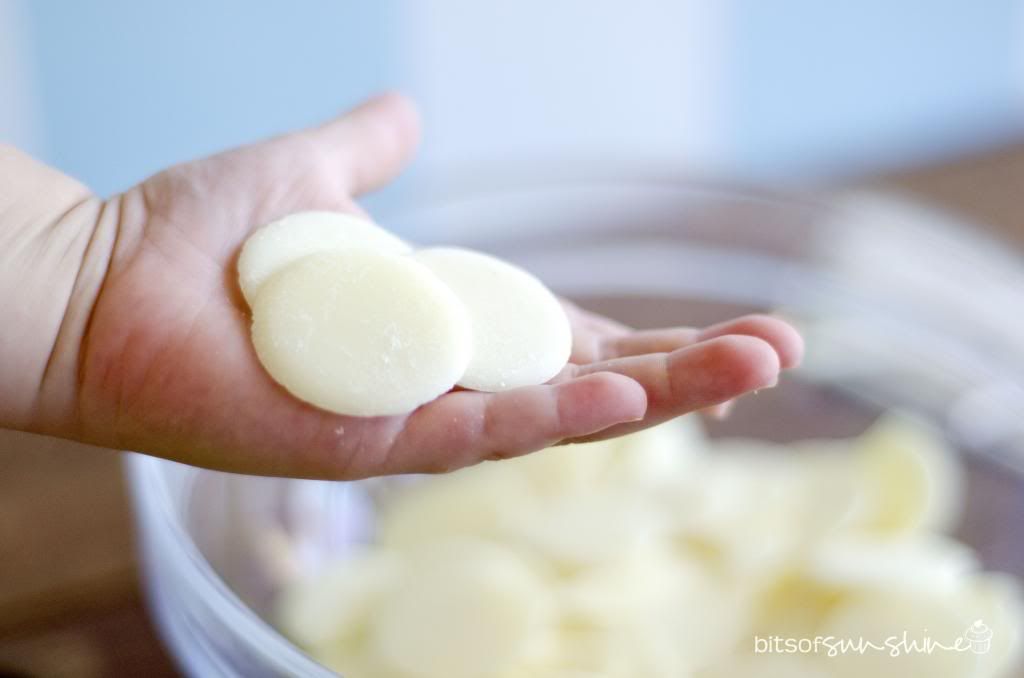
 and then this got mixed and rolled to form these


and then these get popped into the freezer for about 15 minutes (but NOT longer - they mustn't freeze or they go almost brittle and they break and crumble when you try and put the lolly stick into them)

Once they are cool - its time for dipping. Up until this point, I am sure that you have mentally checked off all these ingredients - and you can just grab them when you do your everyday grocery shop. But the following things you may have to go out of your way to get (but not too far out of your way :)):

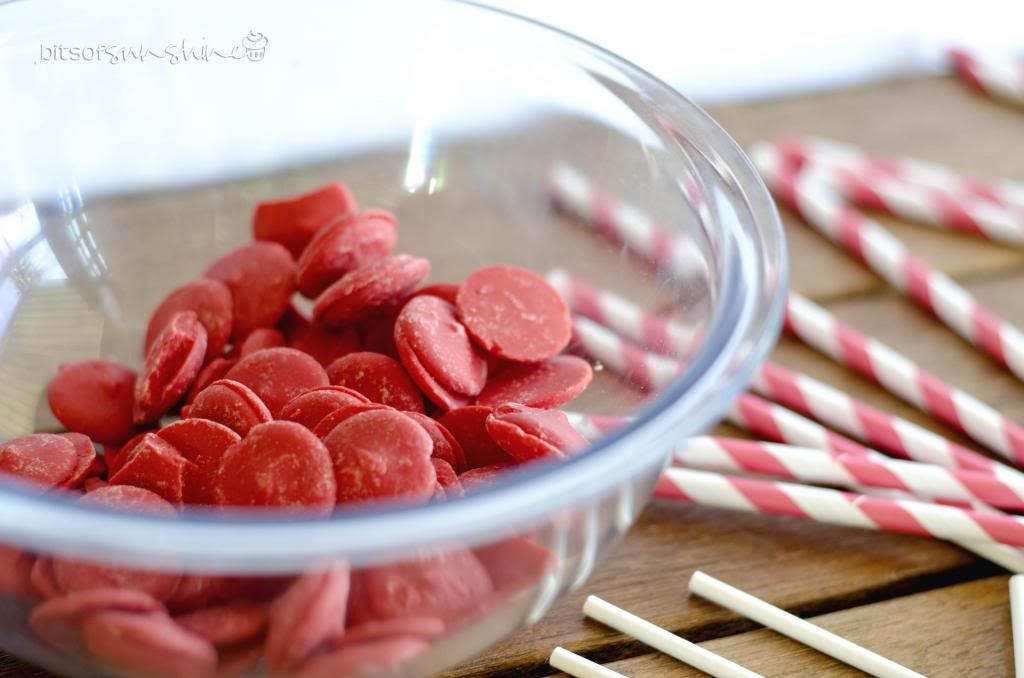
Lolly pop sticks: 
have found a couple places where you can get these from:

Party Themes Classic - they have no web page (boo hoo) but they do have the BIGGEST range of absolutely everything you need to bake and craft! They are in Peters Road in Springfield Park (Durban) and their number is 031 577 0202. Its worth a visit!

Bake A Ton - they have a web page, but you cant order off it just yet. But the awesome thing about them is they deliver, from Port Edward on the south coast to Ballito on the north coast, check their web page for more info.

Learn to Craft - totally web based - and totally awesome! I use them A HANG OF A LOT!

Yuppie Chef - also web based and also totally awesome and they have just started selling candy melts (a bit pricey - but so cool!)

Chocolate Coating:

 
 I always get my chocolate rounds at Bake A Ton, they sell a bag of 500g for about R25ish (I think!) and they stock them in dark, milk and white. They also sell powdered coloring to colour the chocolate (they have an entire rainbow of colours *swoon*)

Candy Melts are just awesome - and I have bought some from Learn to Craft.
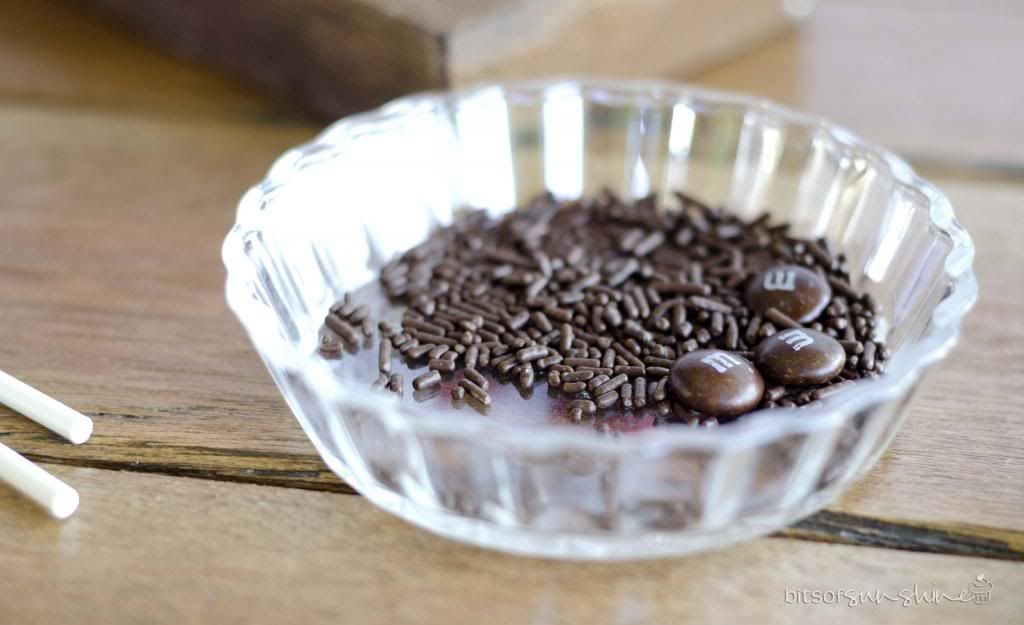

Sprinkles:

The best place for sprinkles is Party Themes - wow. They just have SOOOOOO many!

And that's it! If you know of other places - please leave a comment below - I am ALWAYS on the prowl for cool places to buy nice baking supplies from!


So - back to the cake pops...

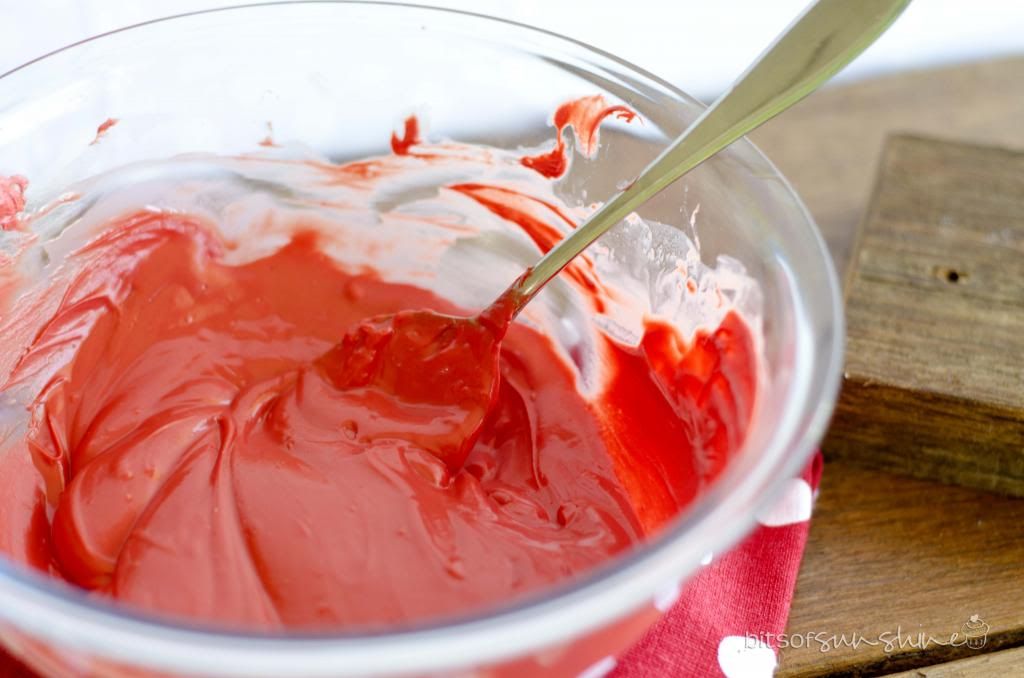
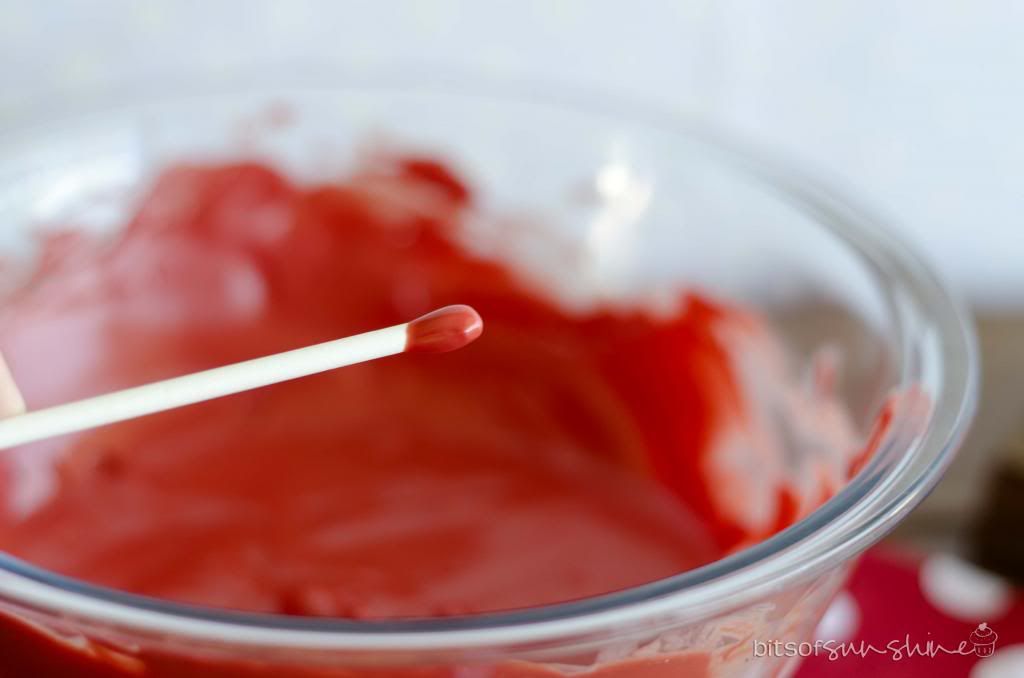
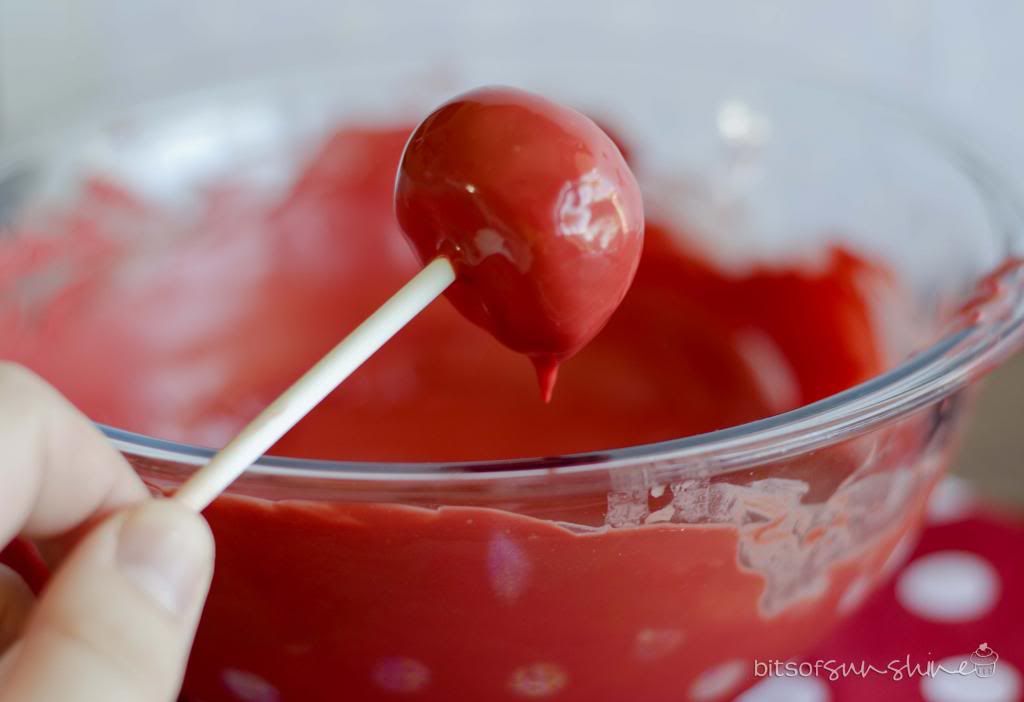
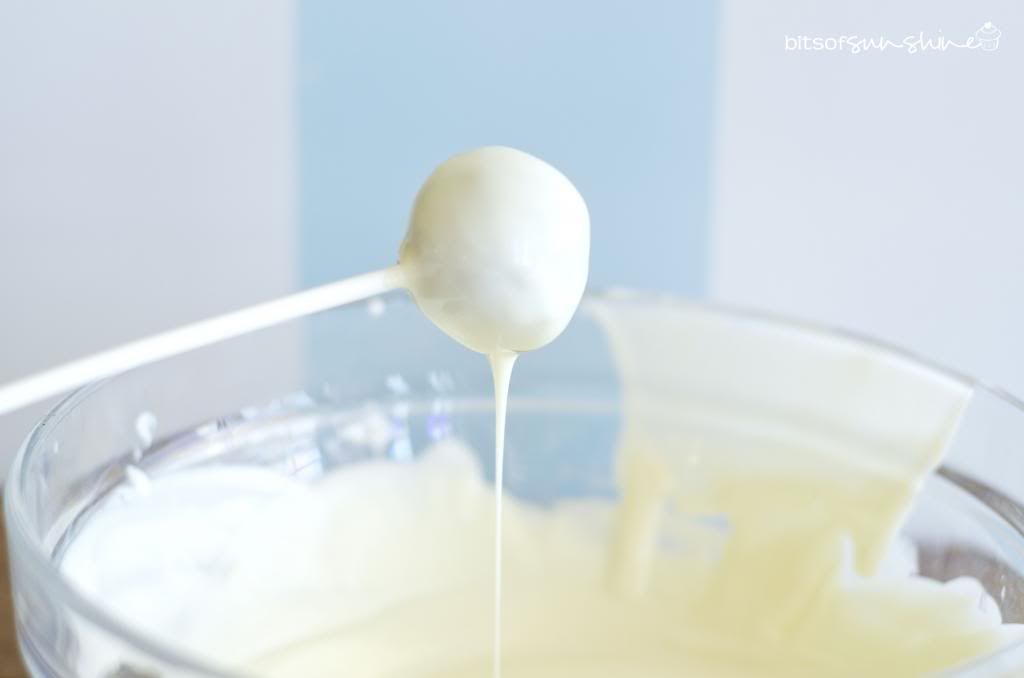
Get everything together, all within reach, because once you are on a roll - you can't just dash here and there - melted chocolate waits for NO man (or baker!) and then melt your chocolate. You can do it in the microwave, or on the stove top in a double boiler (which I prefer). Once its melted, dip the tip of a lolly stick in the melted chocolate and insert it into the cake ball (not too far in, just about half way)


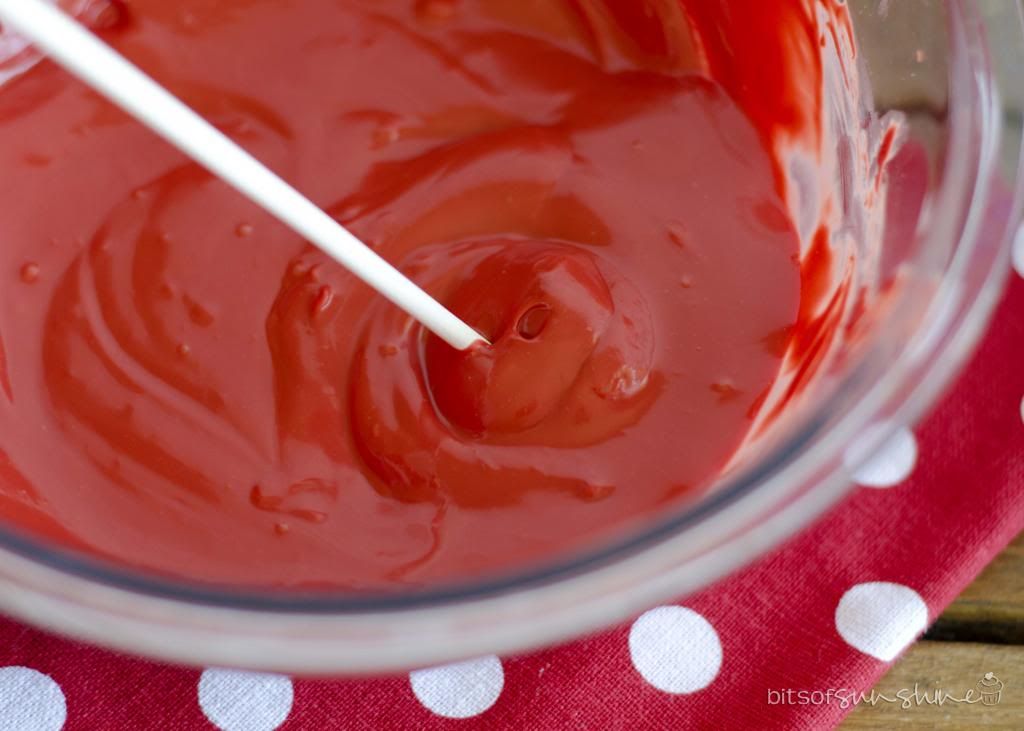
Then dip it! Bakerella suggests you use a deep bowl, it makes dipping easy and keeps thing neat. Watch her video to see the best way to dip and gently shake off any excess chocolate coating.

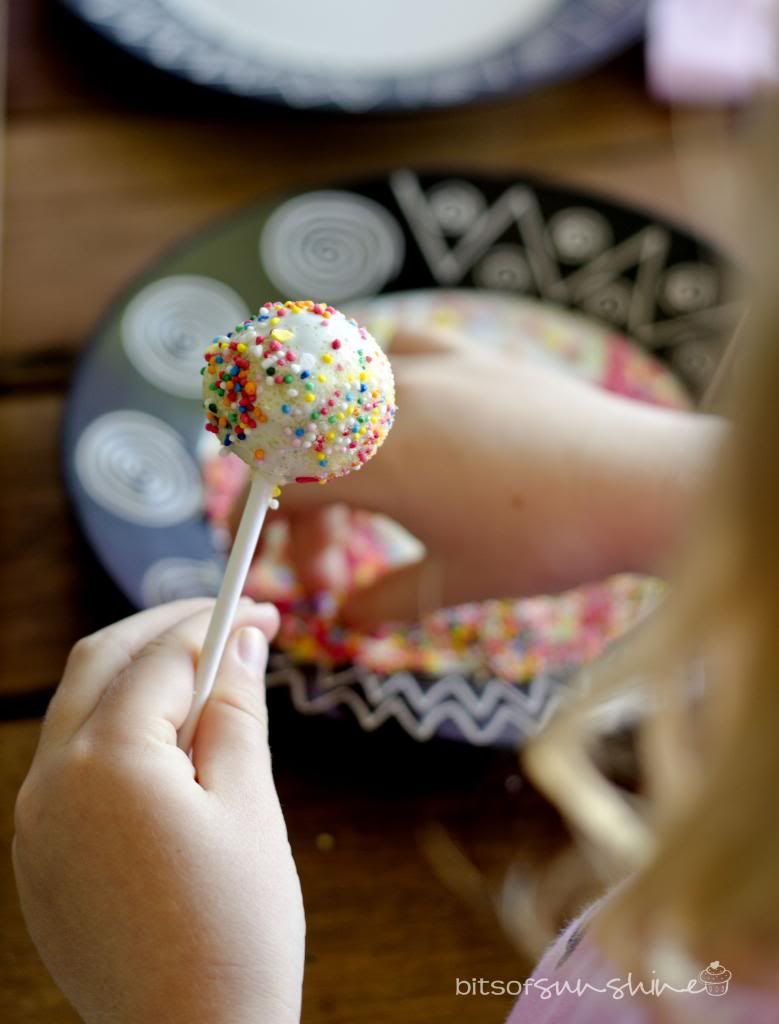
Now is when you add sprinkles...


(this is Livi's cake pop - hers was neat and precise)

 Its great to do with little kids - they can just go wild here!


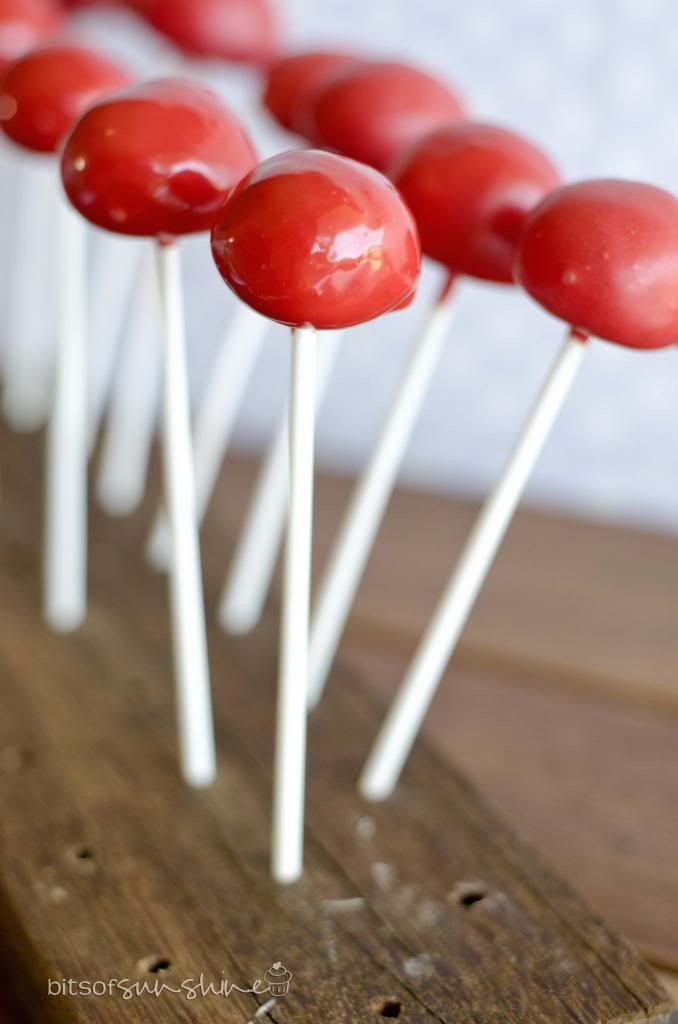
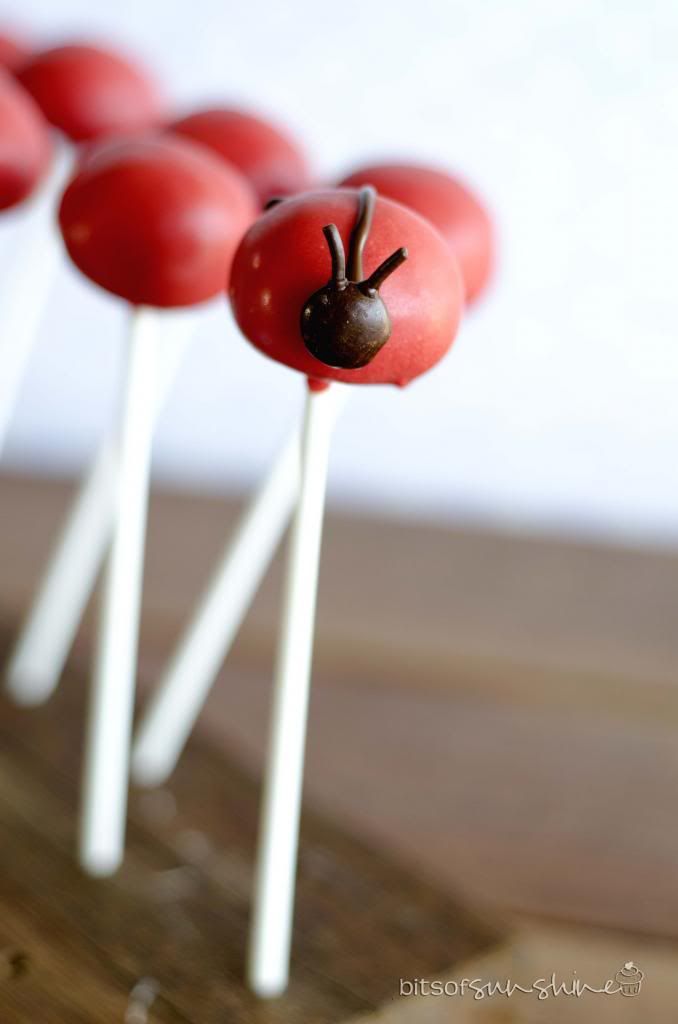
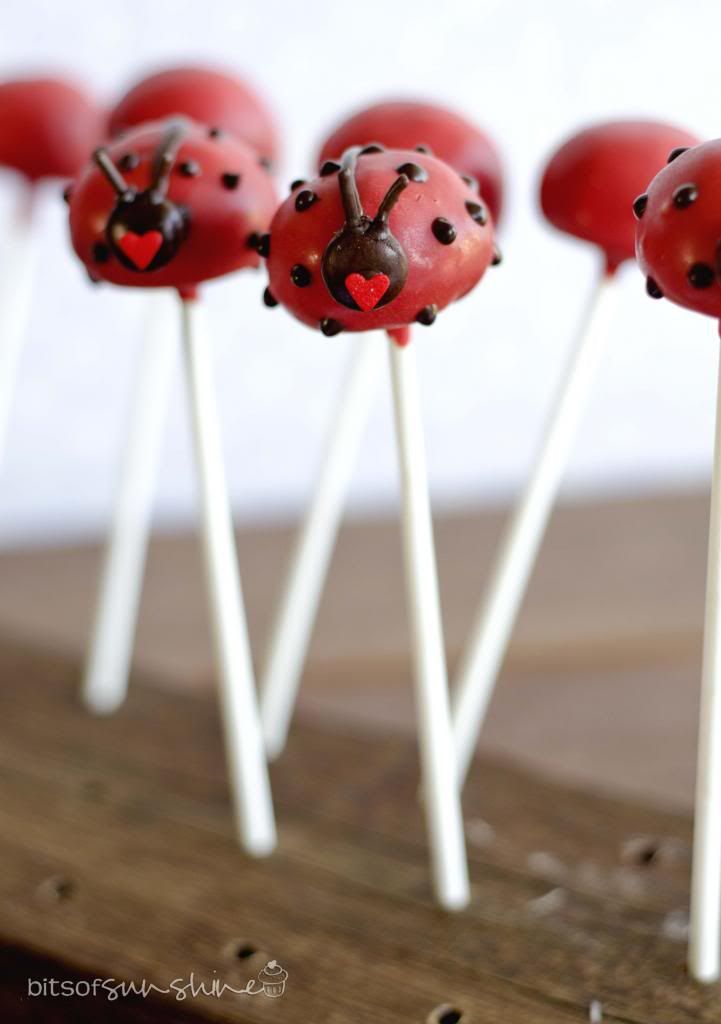
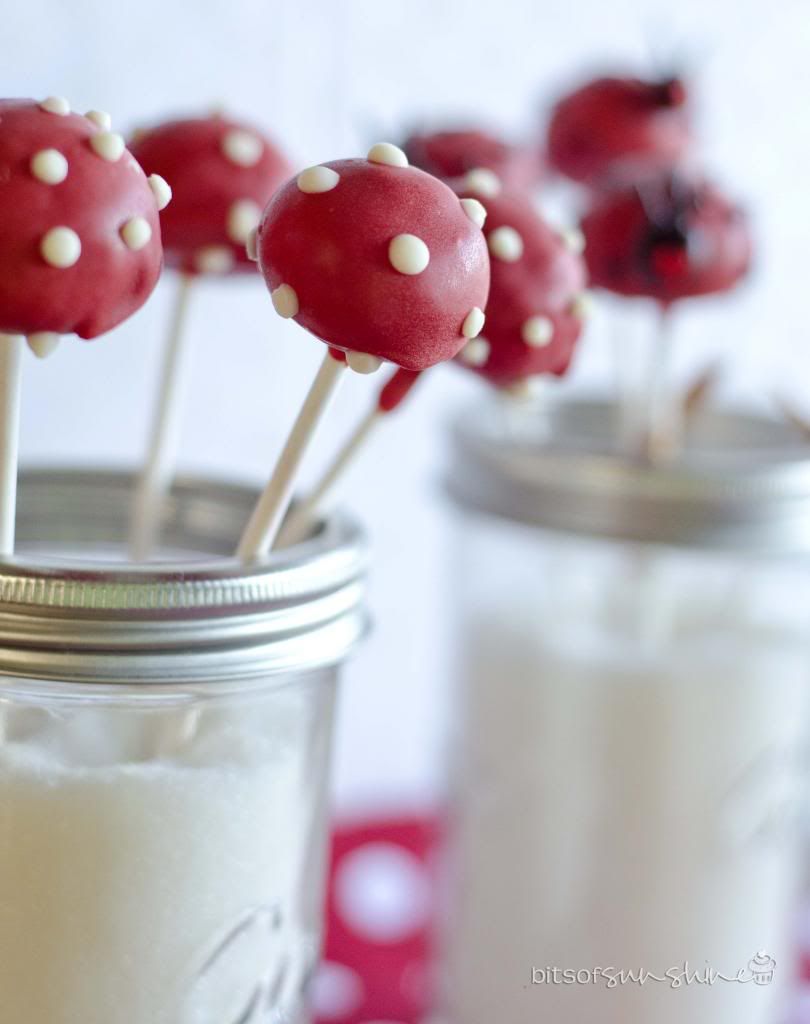
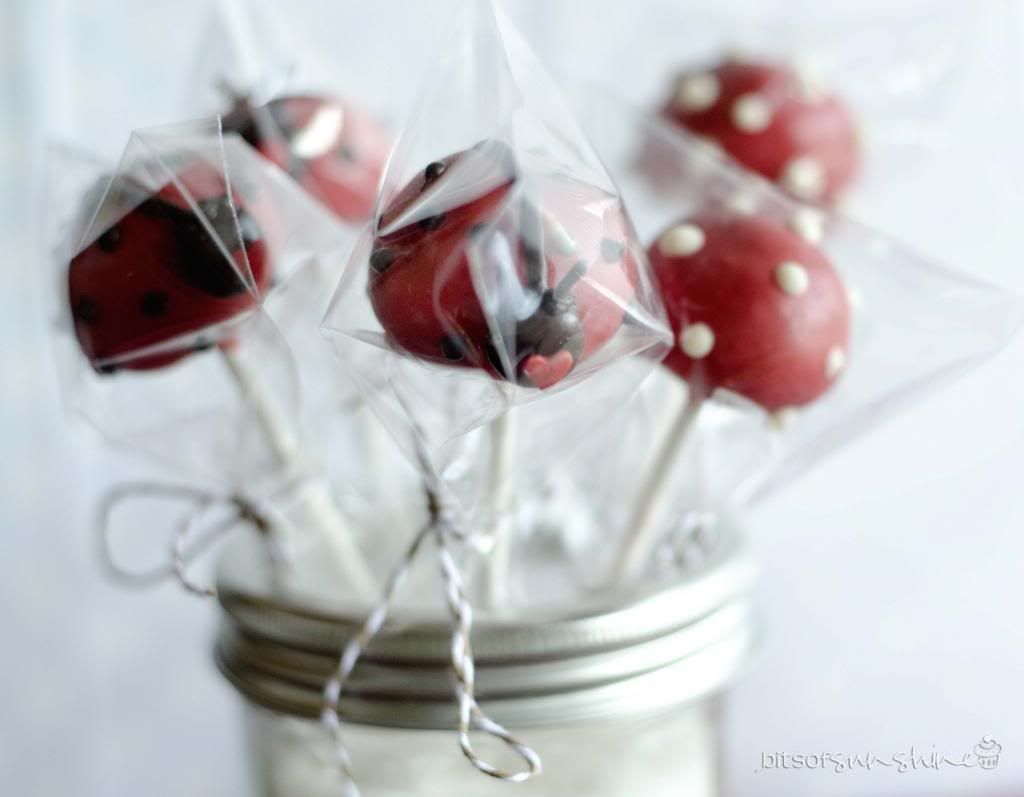
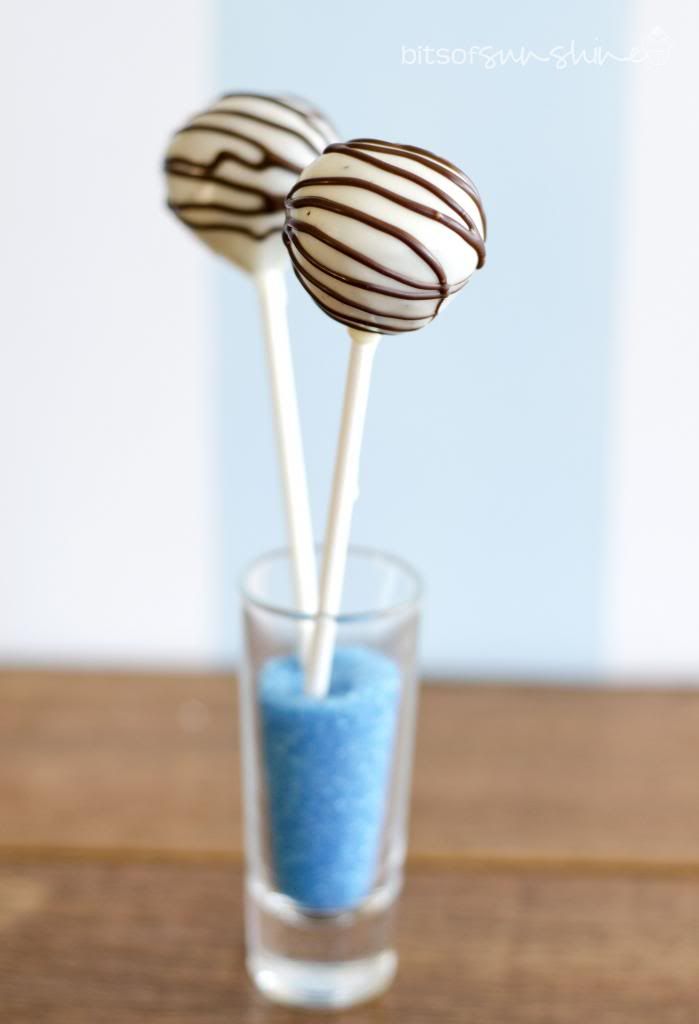
Then pop it into a Styrofoam block  for the chocolate coating to harden. and that's it! Shane made me a really awesome cake-pop-drying-block which I will show you in my next post (I made some cute lady bug cake pops - I cant wait to share them with you). Its makes things so much easier!


 Once they are nice and dry - go ahead and gobble them up!


 (this is Shauna and her cake pop - she was all in with the sprinkles! Was so cute to see each little girl adding their own personality onto their cake pop! :) )


Anyhoo - I hope that, given all this info, that you will attempt these. They are so much fun! They are also really tasty - Shane loves them (and he is not always that fond of cake!)

Just to let you know - these are all my own opinions, I was not sponsored in anyway to write the things I did, I just wanted to make things easier for those who wanted to try these out! (and i just ADORE Angie from Bakerella!)

For this particular recipe - go to Bakerella's blog

Blogging tips