Since I have been married thou - I have had to make my own birthday cake. Sad I know. But I have come to terms with that fact. So this year I made some grown up cheese cakes - since I am grown up now! I made these cute black forest cheese cakes.

It all starts with some crushed biscuits (I used Tennis Biscuits, but I am pretty sure you can you Graham Crackers) and some melted butter.

And they get mixed together and then pressed into your "container" - which in my case were these really cute little stand alone cupcake holders that my sweet friend Carla sent me. Thanks Carla :)

And then these get popped into the fridge to "set" (for lack of a better word ha ha). Now its time for the filling...

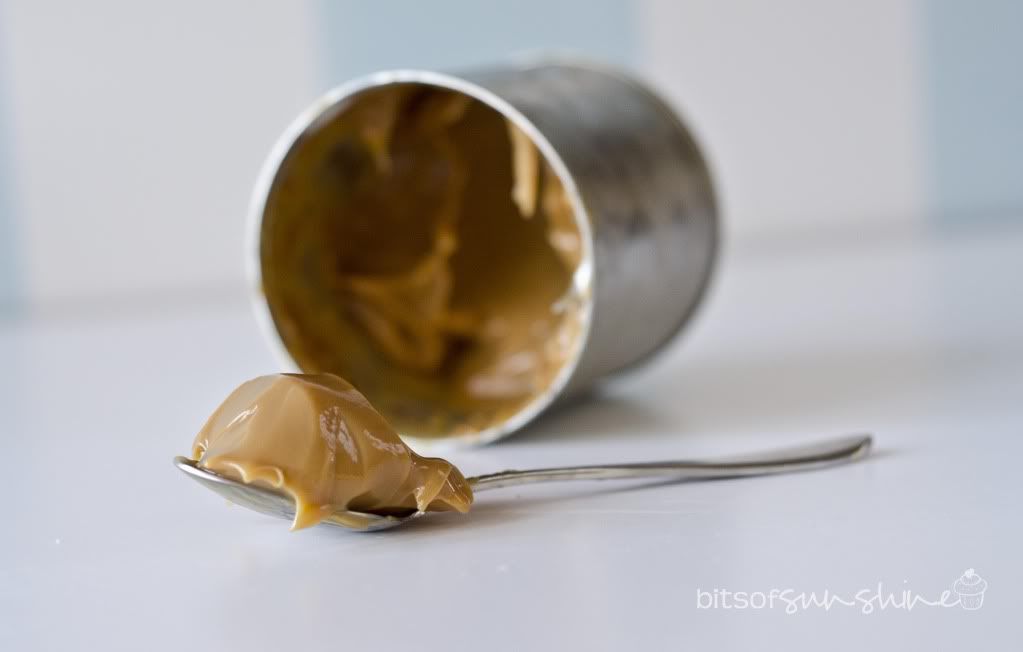
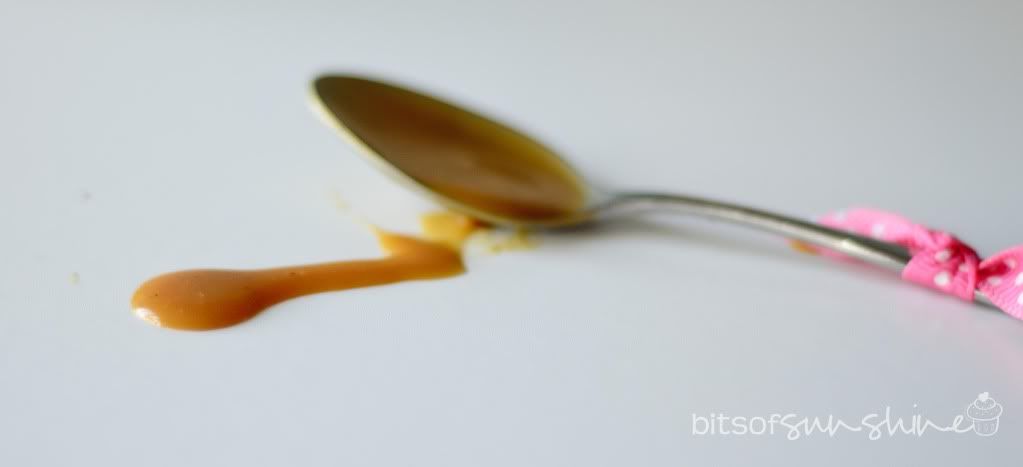
Just a few ingredients go into the filling - it starts off with a tin of condensed milk and some smooth cottage cheese. Once mixed well, the lemon juice gets added (I love.love.love the lemon juice part - it totally makes cheese cake what it is!)

Ans it all get mixed really well. I could totally be satisfied to leave it right here and eat it out of the bowl with a gigantic spoon - but for the sake of everyone else I went onto the next step - I whipped up some cream.

I really find the whole cream thing confusing. I mean you get like 50 differently names creams around the world, and here, in South Africa, they only have like 2 of those! Ok maybe 3, but its just like double cream (very thick), whipping cream (self explanatory) and pouring cream (thin and cant be whipped). I used whipping cream for this - which I think is the equivalent of heavy cream, but I am not certain!
Anyhoo, moving on... Now it time to mix it up by adding the yummy, lemon and cheese mixture to the cream. Once that is all mixed - its time for the gelatin. Gelatine is not as daunting as some may find it

After the whole gelatine saga, the gelatine gets folded into the cream and cheese mixture until it is fully combined. That's is pretty much the end of a standard cheese cake making session (that is IF you were making a standard cheese cake) but I was making a BIRTHDAY cheese cake - so I had to go the black forest route!

Cherries and Chocolate! Morello cherries and chopped bittersweet chocolate to be exact! These got folded into the mixture just before it was spooned over the little biscuit bases that will chilaxing in the fridge.

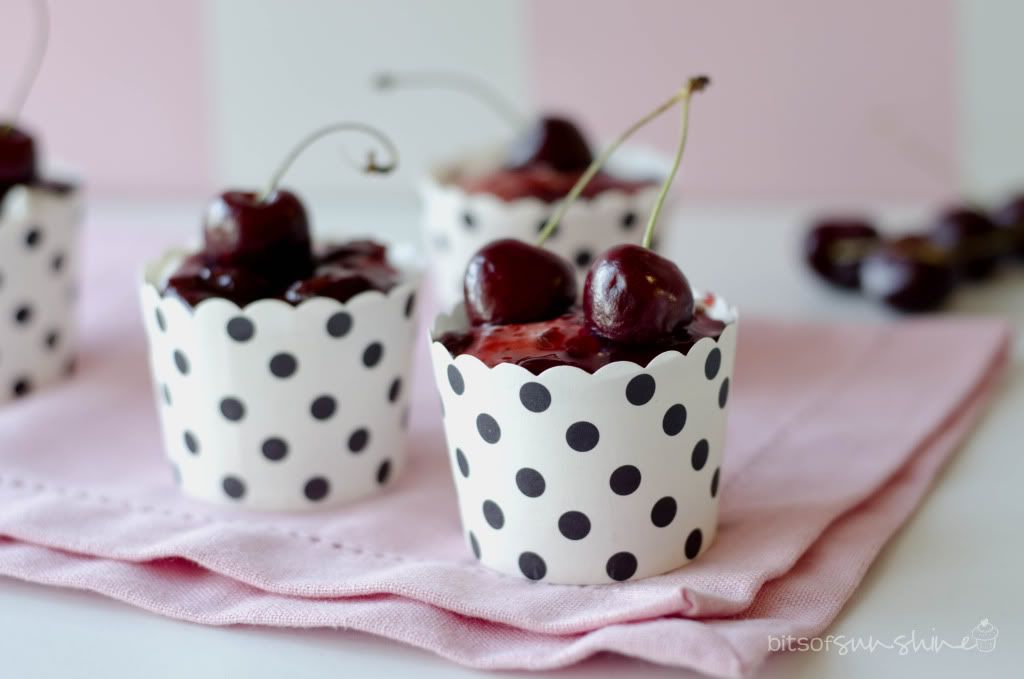
Then - to authenticate the whole deal - I topped the baby cheese cakes off with some Mixed Berry Preserves.

And some fresh cherries! Then these little okes had to chill some more in the fridge before they could join in the birthday celebrations!

And that's it! Easy and delicious!
I made a pretty snazzy dessert using this same method which I will share sometime soon :) SO keep a look out for it!
Black Forest Cheesecake {Printable Recipe}
Biscuit Base:
1 packet tennis biscuits / graham crackers
125g melted butter
125g melted butter
- Crush biscuits and mix with butter
- Press in a greased dish and refrigerate for about 30min
Cheesecake Filling
500ml whipped cream (heavy cream)
125ml lemon juice
1 tin condensed milk
20ml gelatine powder
60ml water
100g chopped bittersweet chocolate
1 jar morello cherries
cherry topping / cherry preserves
125ml lemon juice
1 tin condensed milk
20ml gelatine powder
60ml water
100g chopped bittersweet chocolate
1 jar morello cherries
cherry topping / cherry preserves
- Mix the cottage cheese and condensed milk until smooth
- Slowly stir in lemon juice
- Fold this mixture into the whipped cream
- Hydrate the gelatine in the water and fold it into the cream mixture
- Fold in the chocolate and cherries
- Top the cheese cake with the cherry topping / preserves
- Decorate with fresh cherries (if you like)
- Pour into the prepared biscuit base and refrigerate for at least 3 hours to set